 Sarasota Siding
 New-Construction Windows in The Meadows: What the Term Actually Means
"New-construction window" is a specific installation method, not a style of window. It refers to a window with a nailing fin (sometimes called a nail-flange window) that is fastened directly to the wall sheathing or framing before stucco, siding, or exterior finish goes on, and is fully integrated into the building's water-resistive barrier with flashing tape and pan flashing. This is different from a "replacement" or "block frame" window, which is inserted into an existing rough opening from the outside with the old frame left in place or removed down to the masonry.
In The Meadows, most homes were built with concrete block construction, and the window openings were framed for that era's building codes. When we're asked to do a "new-construction" install here, it's almost always for one of three situations: a full addition, a renovation that opens walls down to the studs or block, or a whole-house window replacement where the owner wants the old frames removed entirely and the openings rebuilt correctly rather than re-covered. Each of these calls for the new-construction method because it lets us control the flashing and water management from the framing outward, which a simple insert replacement cannot do.
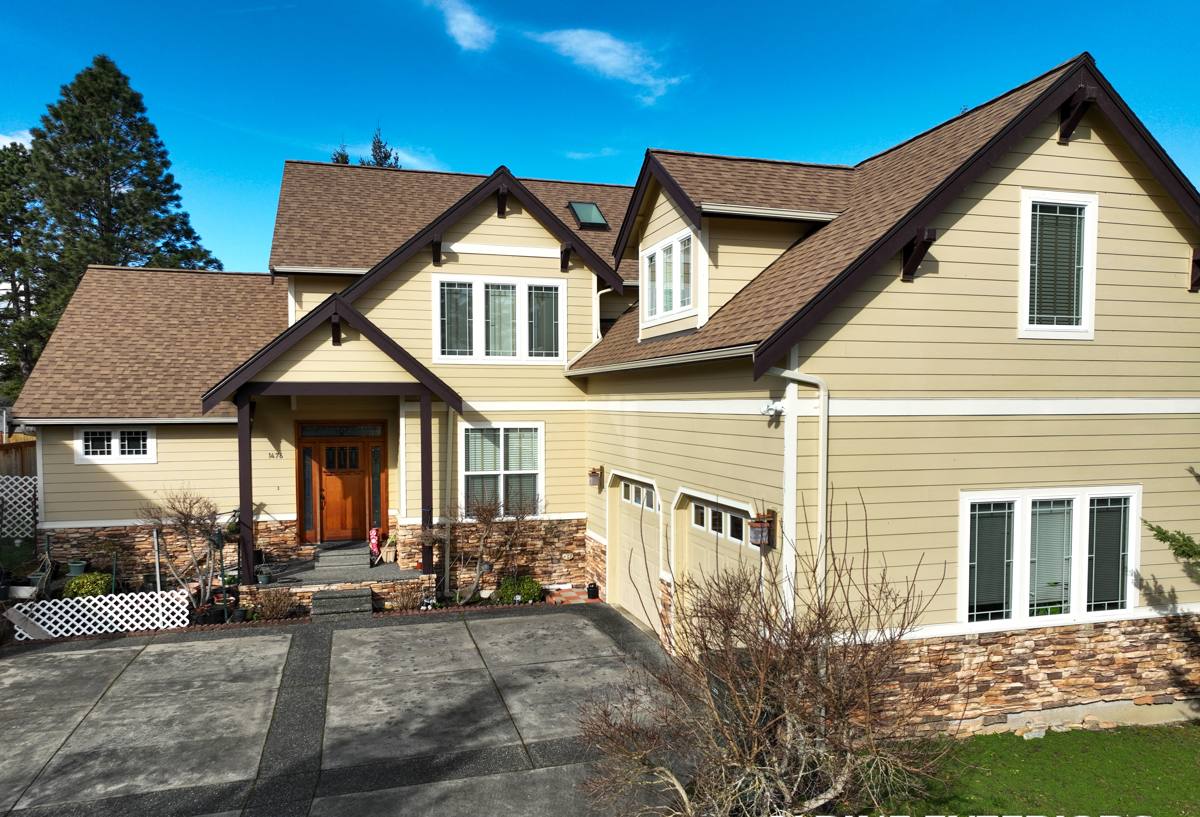
Why This Matters for Homes in The Meadows Specifically
Sarasota County sits in a windborne debris region under the Florida Building Code, and The Meadows is close enough to the coast that homes here are built and inspected to that standard. That means window products, anchoring, and water management all have to meet code minimums for wind pressure and, depending on the opening's location and size, impact resistance or an approved protection system. A new-construction install gives us the cleanest path to hit those requirements because the fin, the flashing, and the rough opening prep are all done to spec before anything is covered up and hidden from inspection.
Beyond code, the local climate is hard on windows in three specific ways worth understanding before you choose a product or a crew:
- Hurricane-force wind and wind-driven rain: Even windows rated for the right pressure zone will leak if the flashing detail behind them is wrong. Most water intrusion around windows in this area traces back to flashing and sealant failure, not the window unit itself.
- Intense, year-round UV: Vinyl and composite frame components, exterior-grade sealants, and weatherstripping all degrade faster here than in northern climates. Cheaper sealants and low-grade vinyl will chalk, stiffen, or crack years ahead of their rated life.
- Salt air: The Meadows isn't beachfront, but it's close enough to the Gulf that airborne salt reaches this area, especially during onshore wind events. Hardware, fasteners, and frame finishes that aren't rated for coastal exposure will corrode and pit over time, which is why fastener and hardware selection matters as much as the window brand.
New-Construction vs. Replacement: Which One Do You Actually Need
Homeowners in The Meadows often call asking for "new windows" without knowing which method applies to their project. Here's how we sort it out:
| Factor | New-Construction (nail-fin) | Replacement (block/insert) |
|---|---|---|
| Best for | Additions, gut renovations, full stucco/siding tear-off jobs | Existing homes keeping current stucco and trim intact |
| Flashing control | Full access to sheathing/WRB — best possible water management | Limited to what's accessible around the existing opening |
| Exterior finish impact | Requires new stucco/siding patch-back around the fin | No disturbance to existing stucco or trim |
| Typical project scope | Larger — tied to renovation or addition timeline | Smaller — can be done window by window |
| Code/inspection path | Full permit review of rough opening and flashing | Permit review of the insert and anchoring |
If your project already involves opening up exterior walls — an addition, a lanai enclosure conversion, storm damage repair — new-construction windows are usually the right call because you're paying for the wall access anyway. If your stucco and trim are sound and you just want better-performing windows, replacement inserts are often the more practical and less disruptive choice. We'll tell you honestly which situation you're in before you commit to either.
What a Correct New-Construction Install Involves
1. Rough Opening Prep
The opening gets checked for square, level, and correct dimensions against the window's actual manufactured size — not just the ordered size. On block construction, this often means confirming the buck (the wood or PVC frame anchored into the block) is solid, properly anchored, and free of moisture damage before anything else happens.
2. Flashing and Water Management
This is the step that determines whether a window leaks during a wind-driven rain event five years from now. A proper install includes a sill pan flashing to catch and direct any water that gets past the window back outward, side and head flashing that laps correctly with the building's water-resistive barrier, and compatible flashing tape sealed in the right shingle-style sequence — bottom, sides, then top — so water always sheds downward and outward, never into the wall cavity.
3. Setting and Anchoring the Window
The window is set, shimmed level and plumb, and fastened through the nailing fin per the manufacturer's approved fastening schedule — which in this wind zone is not optional or approximate. Fastener spacing and type are part of what the product's impact and wind-load rating is actually certified for.
4. Sealing and Exterior Finish Integration
A compatible, UV-stable sealant is applied where the flashing and finish meet the frame, and the exterior finish (stucco, siding, trim) is built back around the fin so the whole assembly sheds water as one system rather than relying on caulk alone to keep it watertight.
5. Interior Finish and Final Check
Interior sill, casing, and insulation around the frame are completed, and the unit is operated and checked for square, smooth operation, and a consistent reveal before we call the job done.
Product Considerations for This Area
We don't push one brand as the only acceptable option, because the right product depends on the opening size, wind pressure rating required for that elevation, and budget. What we do insist on for The Meadows and similar Sarasota County neighborhoods:
- Products with current Florida Product Approval or Miami-Dade NOA documentation appropriate to the wind zone and, where applicable, windborne debris requirements.
- Frame materials and hardware finishes rated for coastal or near-coastal exposure — standard-grade hardware not rated for salt air exposure will corrode faster here than it would inland.
- Impact-rated glass or an approved protection system, sized correctly for the actual exposure category of the home, not just a default spec.
- Sealants and flashing tapes rated for sustained UV and high-heat exposure, since products designed for milder climates can fail early here.
Our Process Working in The Meadows
- On-site assessment: We look at the actual wall assembly, existing openings, and elevation exposure before recommending new-construction vs. replacement.
- Permitting: We handle the Sarasota County permit application and, where the community requires it, the documentation for architectural or design review submission.
- Product selection: We walk through options with honest trade-offs on cost, appearance, and performance — no upselling past what the project actually needs.
- Installation: Rough opening prep, flashing, setting, and finish integration performed to the sequence above, with photos documented at each stage for your records and for inspection.
- Inspection and walkthrough: We coordinate the required county inspection and do our own final walkthrough with you before we consider the job complete.
Why Local Experience in The Meadows Matters
Every established Sarasota neighborhood has its own quirks — HOA or architectural review expectations, common construction ages and wall assemblies, and typical problem areas we've already seen before. A crew that has worked in The Meadows knows what block construction from that era typically looks like once a wall is opened up, what documentation the county and community reviewers usually want, and how to sequence a window project around Florida's rainy season so an open wall isn't sitting exposed longer than it has to be. That local familiarity translates into fewer surprises mid-project and a tighter, more predictable timeline.
Simple Checklist Before You Hire
- Confirm whether your project actually needs new-construction (nail-fin) windows or standard replacement inserts.
- Ask to see the specific flashing sequence your installer plans to use, not just the window brand.
- Verify the products being quoted carry the correct wind/impact approval for your home's exposure.
- Confirm who is pulling the permit and handling any community architectural review submission.
- Get the fastener and hardware corrosion rating in writing if your home is anywhere near open water or onshore wind exposure.
If you're planning an addition, a renovation, or a full window replacement in The Meadows and want a straight answer on what your project actually needs, we're happy to walk the site with you and put together a free, no-pressure estimate using the form below.