 Sarasota Siding
 Downtown Sarasota Roofs Work Harder Than Most
A roof in Downtown Sarasota deals with a punishing combination: tropical sun nearly every day of the year, salt-laden air drifting in off the bay, sudden downpours that come in sideways on gusty afternoons, and the real threat of a hurricane or tropical storm passing close enough to matter. Add in a mix of older bungalows and cottages alongside newer infill homes and townhomes near the core of the city, and you get a neighborhood where roofs age unevenly and problems get missed until they're expensive. An asphalt shingle roof installed correctly for this environment behaves very differently over ten or twenty years than one installed the same way you'd see in a drier, calmer climate.
This page is about one job, done right, for one part of town: asphalt shingle roofing for homes in and around Downtown Sarasota. Not a generic overview of roofing in general — the specific things that matter when your house sits close to the water, under intense UV, and in the path of Gulf Coast weather.
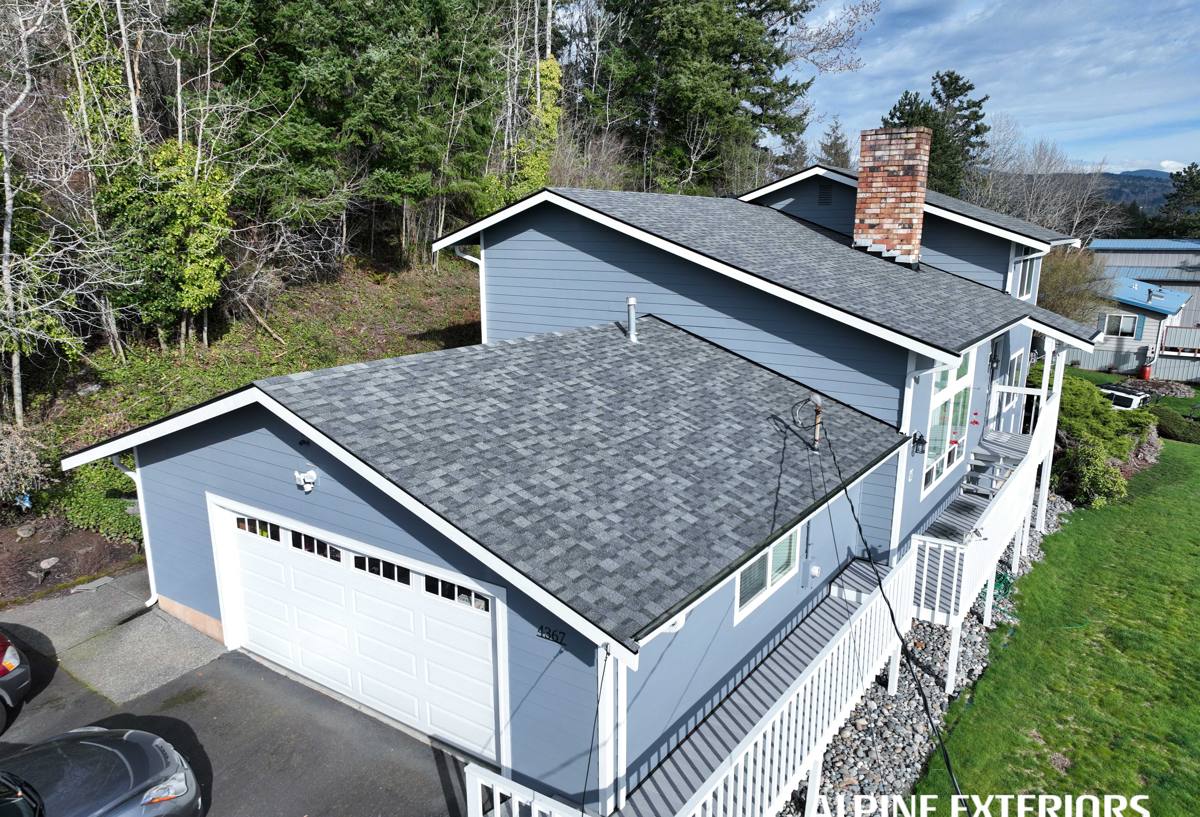
What Sarasota's Climate Actually Does to a Shingle Roof
It helps to understand the failure modes before talking about the fix.
UV and Heat
Year-round sun bakes the asphalt in shingles, driving off the oils that keep them flexible. Over time this shows up as granule loss, curling edges, and shingles that crack instead of flexing when walked on or stressed by wind.
Wind-Driven Rain
Sarasota's storms rarely fall straight down. Wind pushes rain sideways and upward under shingle edges, through nail holes, and into any gap in flashing. A roof that would shed water fine in a calm rain can still leak in a wind-driven one if the underlayment, flashing, and sealant strips aren't doing their job.
Hurricane-Force Wind
Even homes that never take a direct hit still see repeated high-wind events over the life of a roof. Shingles rated for wind but installed with the wrong nailing pattern, or a starter course that isn't sealed properly, are the ones that end up peeling off in strips.
Salt Air
Being close to the water means airborne salt settles on every exterior surface, including the roof. It accelerates corrosion on exposed metal — flashing, fasteners, vents, and drip edge — well before the shingles themselves are due for replacement. A roof system with mismatched or under-spec metal will show rust streaks and leaks around penetrations long before the field of the roof fails.
What a Correct Installation Actually Involves
Asphalt shingle roofing looks simple from the ground, but a coastal-grade installation has several layers working together. Skipping or shortcutting any one of them is usually where the eventual leak or wind loss starts.
- Deck inspection and repair — plywood or OSB sheathing that's soft, delaminated, or improperly fastened gets replaced before anything goes back on, not covered up.
- Synthetic or felt underlayment — a full water-resistant barrier across the whole deck, not just under the shingles' visible field.
- Self-adhering waterproof underlayment at eaves, valleys, and roof-to-wall transitions, where wind-driven rain is most likely to find a way in.
- Drip edge metal at eaves and rakes, properly lapped with the underlayment so water is directed into the gutter, not behind the fascia.
- Starter strip shingles with factory sealant along every edge, which is what actually resists wind uplift at the perimeter.
- Correct nailing pattern and fastener count for the shingle's wind rating — this is the single most common shortcut on rushed jobs.
- Properly flashed penetrations — plumbing stacks, chimneys, and skylights sealed with corrosion-resistant metal, not just roofing cement.
- Balanced attic ventilation so heat and moisture don't build up under the deck and shorten the shingles' life from underneath.
- Ridge cap installed to spec, which takes more wind load than any other part of the roof.
Choosing the Right Shingle for This Environment
Not every asphalt shingle product is a good fit for a coastal Sarasota County home. The table below reflects how the common categories generally perform here, based on wind rating, expected service life in a salt-air, high-UV climate, and typical cost position.
| Shingle Type | Typical Wind Rating | Realistic Coastal Lifespan | Cost Position | Best Fit |
|---|---|---|---|---|
| 3-tab strip shingle | Lower end of rated range | Lowest | Budget-limited jobs, secondary structures | |
| Architectural (dimensional) shingle | Mid-to-high, depending on line | Solid, standard choice for most homes | Moderate | Most Downtown Sarasota homes |
| Impact-rated / higher wind-class shingle | Highest available in asphalt | Longest of the asphalt options | Higher upfront | Homes prioritizing storm resilience and potential insurance credit |
We'll talk through where your home and budget land on that spectrum honestly — the right answer depends on how long you plan to stay in the house, your insurance situation, and how exposed the roof is to open wind.
Permits, Wind Mitigation, and Insurance
Reroofing in Sarasota County requires a permit and inspection, and that's a good thing — it means the work gets checked against current Florida Building Code wind requirements rather than just trusted on faith. A few practical points worth knowing before you start:
- Permitted reroofs typically need at least one inspection during the process and a final sign-off; we handle the permit application and scheduling as part of the job.
- A new roof is a good time to have a wind mitigation inspection done. Features like sealed roof deck attachment, hip roof shape, and the shingle's wind rating can all factor into a lower windstorm insurance premium.
- Keep your permit card, inspection results, and manufacturer paperwork together — insurers and future buyers will ask for them.
We won't cut corners to skip an inspection or shortcut the permit process. It's slower, but it's the only way to know the roof was actually built to code, not just built to look finished.
Problems We Commonly See on Older Downtown Homes
Homes in and near Downtown Sarasota span a wide range of ages, and the roofing problems tend to fall into a few repeating patterns:
- Patchwork repairs stacked over years — mismatched shingle lots, tar-sealed patches, and flashing repairs that were never tied back into a proper water path.
- Undersized or clogged ventilation in older attic designs, leading to heat buildup that ages shingles faster from below.
- Corroded flashing and fasteners around chimneys, plumbing vents, and roof-to-wall junctions from years of salt air exposure.
- Deck damage hidden under old shingles that only shows up once a tear-off begins — soft spots, old nail holes, or water staining that was never addressed.
- Roofs re-covered instead of torn off in the past, which hides deck problems and adds weight without solving the underlying issue.
None of these are unusual or embarrassing — they're just what happens to a roof over time in this climate. The point of a proper reroof is to actually fix them, not shingle over them again.
How Our Process Works
1. Inspection and Honest Assessment
We look at the whole roof system — deck, flashing, ventilation, and the shingles themselves — and tell you plainly whether you need a full replacement, a targeted repair, or can reasonably wait.
2. A Clear, Written Scope
You get a written proposal specifying the shingle product, underlayment, flashing metal, and any deck repair allowances, so there's no ambiguity about what you're paying for.
3. Tear-Off and Deck Repair
Old material comes off down to the deck. Any damaged sheathing is replaced and refastened before anything new goes down — this step is where a roof's actual lifespan is decided.
4. Full Underlayment and Flashing System
Waterproof underlayment at vulnerable areas, synthetic underlayment across the field, new drip edge, and corrosion-resistant flashing at every penetration and transition.
5. Shingle Installation to Manufacturer and Code Spec
Correct nailing pattern, sealed starter course, and properly installed ridge cap — the details that determine how the roof performs in the next windstorm, not just how it looks the day it's finished.
6. Final Walkthrough and Permit Close-Out
We walk the finished roof with you, confirm cleanup is complete, and make sure the permit inspection is scheduled and closed out properly.
Why Local Experience in Downtown Sarasota Matters
A roofing crew that regularly works in this part of the city knows the practical realities that don't show up in a generic estimate: tight lot access and limited staging space near the core of downtown, coordinating with condo or HOA boards on multi-unit buildings, and working around mature tree canopy that's common in some of the older residential streets. We also know the Sarasota County permitting process from repeated experience, which keeps a reroof moving instead of stalled waiting on paperwork or a missed inspection window. That familiarity translates into fewer surprises and a smoother job for you.
Keeping Your Roof Performing After Installation
A well-installed shingle roof still needs some basic upkeep in this climate to hit its full expected lifespan:
- Keep gutters and downspouts clear so water isn't backing up under the eave edge.
- Rinse off heavy salt or debris buildup periodically, especially if the home is close to the water.
- Have the roof looked at after any significant wind event, even if nothing looks obviously wrong from the ground.
- Watch for dark streaking, which is usually algae growth from humidity and doesn't mean the shingles are failing, but is worth monitoring.
- Get a professional check every few years on flashing and sealant points, since those typically need attention before the shingles themselves do.
Get a Straight Answer About Your Roof
If you're dealing with an aging roof, storm damage, or just want an honest read on what shape your roof is really in, we're happy to take a look. We'll give you a clear, no-pressure estimate and explain exactly what your home needs — nothing more, nothing padded. Fill out the form below to schedule a free evaluation.